Google Search Console-A Beginners Guide.
Google Search Console
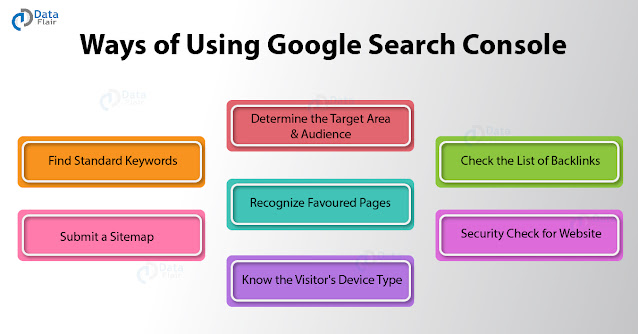
Google search console is also called as Google webmaster tool which is a free service provided by google that helps the webmaster to check the indexing status, search queries, crawling errors and visibility of the website. This is the basic tool used in Search engine optimization process. This acts a bridge between user and search engine(Google) in communications. This helps users to troubleshoot the errors and bug fixing in their webpages. This console helps you understand and improves how google sees your sites. This includes viewing your referring domains, mobile site performance, highest search results and traffic queries on pages. Google search will be act as a mock point between website and webmasters.
This helps to tracks your SEO performance, manage sitemaps, website coverage on Google, remove pages from indexing and track overall website performance.
Who can use Google Search console - One who owns a website for business
How to use Google Search console:
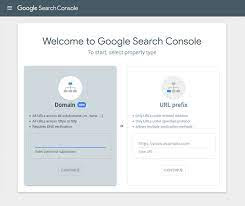
1. Type google search console in google.
2. Then type your blog address in URL prefix then press continue button.
https://padmaseo.blogspot.com/
Then type sitemap.xml in your URL
https://padmaseo.blogspot.com/sitemap.xml
It is your xml document file and also it is called as sitemap.xml.since it is xml document search engine can easily crawl the page because it can easily understand the xml file.It contains the all the related information of the webpages.
The maximum URL in the sitemap is 50000.
In the whole process we have to login with your gmail id which is user for creation of your page or blog.
There are five ownership verification methods, which follow as
Google Search Console-Verification methods
1. HTML File Verification
This method allows you to upload an HTML file to the root directory of your website but you will need to access your server to upload the file either via FTP/SFTP or via File Manager.
Step 1 : Download the Verification file - after you add your site to the Google Search console you should see an option to download an HTML verification file in the Recommended verification tab, Click on the button next to Download the file
Step 2 : Upload the file that you downloaded from Google to the root folder of your site.
Step 3 : Click the Verify button in Google search console, by this Google search console will locate the file on your server and verify that you own the website.
2. HTML Tag Verification
In this method, you need to add a simple meta tag to your website's <head> section.
Step 1: Copy the Meta tag in other Verification methods and copy the Meta Tag.
Step 2: Add the Meta Tag using Insert Headers and Footers
Step 3: Click on Save to save your changes in your website's header and click on the Verify button, if code is added to your website, Google search Console would be able to identify it.
3. Google Analytics
If you already have the Google Analytics installed, you can easily verify your site.
Step 1: Select Google Analytics under Other Verification methods
Step 2: Click on Verify, if you added Google Analytics to word press using a plugin, the tracking code will be available on your home page, so using this method will be easy go.
4. Google Tag Manager
Same as Google analytics method, you need to have Google Tag Manager container snippet active on you site to use this verification method.
Step 1: Select Google Tag Manager under Other Verification methods
Step 2: Click on Verify, if you are using Google Tag manager, this method will enable you to verify your website on search console immediately.
5. DNS Verification
Using Domain Method, you will need to add a TXT record to your domain's DNS configuration.
Step 1: Click on Add DNS Record and select the TXT option under Type, add your Google search console TXT record under Content
This process will vary depending on which domain provider.


Comments
Post a Comment